Monday, August 29, 2016

Mongo Shell

Hi All,

Today we discuss about Mongo Shell.
For this I wanna give special thanks to Kiran patil.
For Such a lovely blog here.
So lets start :-

Mongo Shell

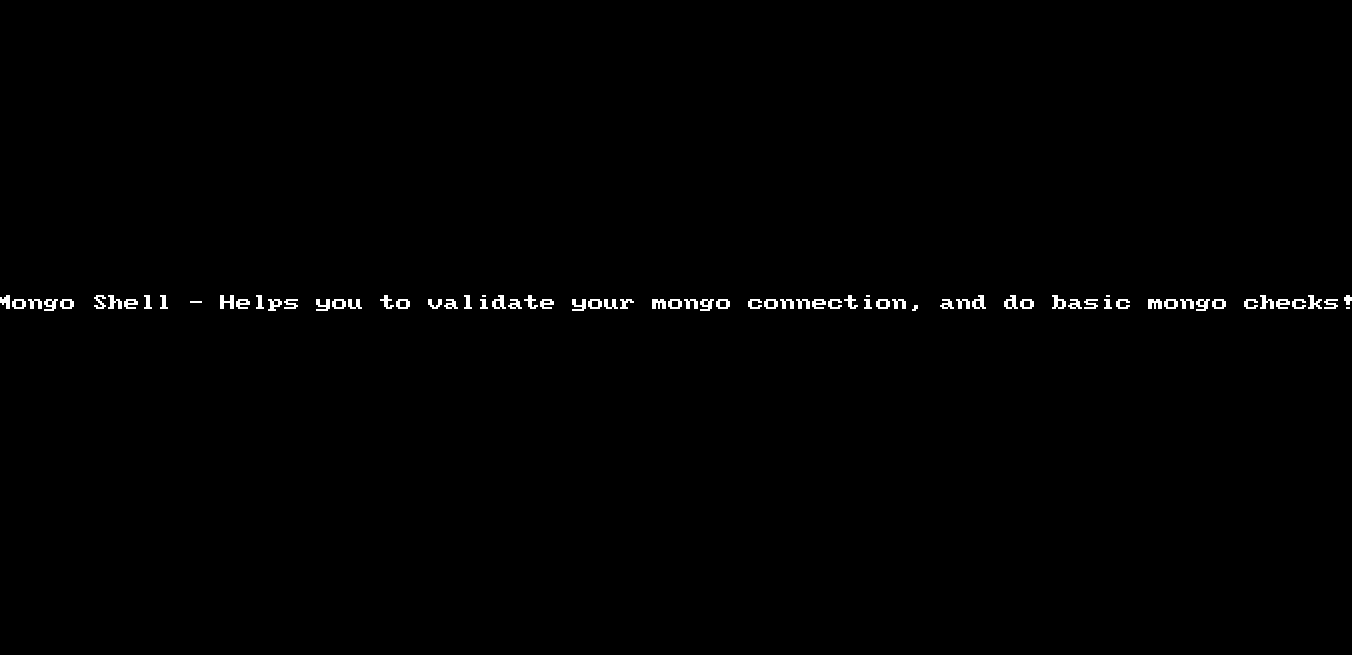
Mongo Shell - Helps you to validate your mongo connection, and do basic mongo checks. Like Test Connection, Get Collection Names, Get Collection, Get Stats, Find All Users
For few projects, I noticed that me and few of my colleagues/friends had issue validating whether mongo connection is right or not, and if yes whether data is going through or not. Mongo Client tools (e.g. Mongo Management Studio) are there. But what If you can't install Mongo Client Tool on server and Firewall is blocked to open mongo connection out of network?
This tool will help you for that!
Basically, this tool is inspired from. SQL Shell - Sitecore tool to query SQL Data,https://github.com/SitecoreSupport/TestMongoDBConnection
BIG Thanks to them!

Mongo Shell

Main Features

  1. To validate your mongo connection directly from your Sitecore application
  2. You can Get collection names of particular DB
  3. You can view collection records
  4. You can view Mongo stats
  5. You can find all users
  6. Security has been applied -- User needs to be logged in to access it.
  7. Responsive UI

How to Download and Install?

Option 1

  1. If you would like to do it manually you can download files from here [Sitecore/admin directory]
  2. Copy-Paste MongoShell.. files under \Sitecore\Admin folder.
  3. Access your page using http:///sitecore/admin/Mongoshell.aspx
  4. That's it! Enjoy! :-)

Option 2

  1. Download Sitecore Package from Data\Packages\V1 folder, Which will copy the files at required place.
  2. Install using Sitecore Installation Wizard. Once done, Just access your page using http:///sitecore/admin/Mongoshell.aspx
  3. That's it! Enjoy! :-)
Note:As I am not using c# 6.0 , so that why some funtions gives error in my case.
So I update the code according to that you can found the updated package here

Friday, August 26, 2016

How Setup SMTP email Server for Sitecore

For setting the email server you need to setup some basic config via path config as below:

<configuration xmlns:patch="http://www.sitecore.net/xmlconfig/" xmlns:set="http://www.sitecore.net/xmlconfig/set/">
  <sitecore>
    <settings>
      <setting name="MailServer" value="smtp.gmail.com"/>
      <!--  MAIL SERVER USER
        If the SMTP server requires login, enter the user name in this setting
  -->
      <setting name="MailServerUserName" value="xxx@gmail.com"/>
      <!--  MAIL SERVER PASSWORD
        If the SMTP server requires login, enter the password in this setting
  -->
      <setting name="MailServerPassword" value="xxx"/>
      <!--  MAIL SERVER PORT
        If the SMTP server requires a custom port number, enter the value in this setting.
        The default value is: 25
  -->
      <setting name="MailServerPort" value="587"/>
    </settings>
  </sitecore>
</configuration>


Just ad the below node in web.config at the last but before: 


Tuesday, August 2, 2016

Sitecore Scheduled Task

At first thanks to For such a good post.
I am always confuse with Schedule Fields time entry.By help of below post my queries related to time is resolved.

To create a scheduled task in Sitecore, first you must create the .NET class that will contain the logic that you wish to execute.  In the example below I’m simply logging a message whenever the task is run.
public void Execute(Item[] items, Sitecore.Tasks.CommandItem command, Sitecore.Tasks.ScheduleItem schedule)
{
Sitecore.Diagnostics.Log.Info("My Sitecore scheduled task is being run!", this);
}

Your method must accept three arguments:
  1. An array of items that can be specified in a later step when you define the command’s schedule
  2. The Sitecore task CommandItem
  3. The Sitecore task ScheduleItem
Once you have your logic defined, you can then create your task command in Sitecore. To do this, navigate to the commands folder under System/Tasks and create a new command as shown below.
Create_Sitecore_Task_Command
In the Type field, enter the assembly qualified type name as shown above, and in the Method field enter the name of the method to be called in your class.
Now you must define the task schedule for your command in Sitecore. To do this, navigate to the Schedules folder under System/Tasks and create a new schedule as shown below.
Create_Sitecore_Task_Schedule
To define your schedule
  1. Under the Command field select the command you just created
  2. If you wish to define items that will populate the items array in your class, you can do so under the Items field. This can be done using a Sitecore query without the ‘query:’ prefix or a pipe (“|”) delimited list of items.
  3. The Schedule field can be a bit tricky. You’ll notice in my example above that I have several piped values. They are defined as follows:
    1. The start date in yyyyMMdd format.
    2. The end date in yyyyMMdd format.
    3. The days of the week that the task should be run. Each day is assigned a value: 1 = Sunday, 2 = Monday, 4 = Tuesday, 8 = Wednesday, 16 = Thursday, 32 = Friday, and 64 = Saturday. For example to run a task Monday through Friday you’d enter 62 (2 + 4 + 8 + 16 + 32). I have my task set up to run every day (1 + 2 + 4 + 8 + 16 + 32 + 64 = 127).
    4. The minimum interval the task is to be run in HH:mm:ss format. The example above is set to run once every 24 hours.
  4. The last run field will be updated by Sitecore whenever your task is run. When creating your schedule you don’t have to set this, but if you do, Sitecore will think that was the last time it invoked your command.
  5. Checking the Async field will cause your task to be run asynchronously.
  6. Checking the Auto Remove field will cause Sitecore to automatically remove the schedule definition item when the task has expired.